You have a small photo and you need it bigger — for a print, a banner, a product listing. Enlarge it the normal way and it turns into a blurry, soft mess. AI upscaling solves this properly. Here's why, and how to use it.
Why normal enlarging fails
An image is a fixed grid of pixels. A 500 × 500 photo contains 250,000 of them — that's all the information there is. To display it at 1000 × 1000, software must invent 750,000 new pixels.
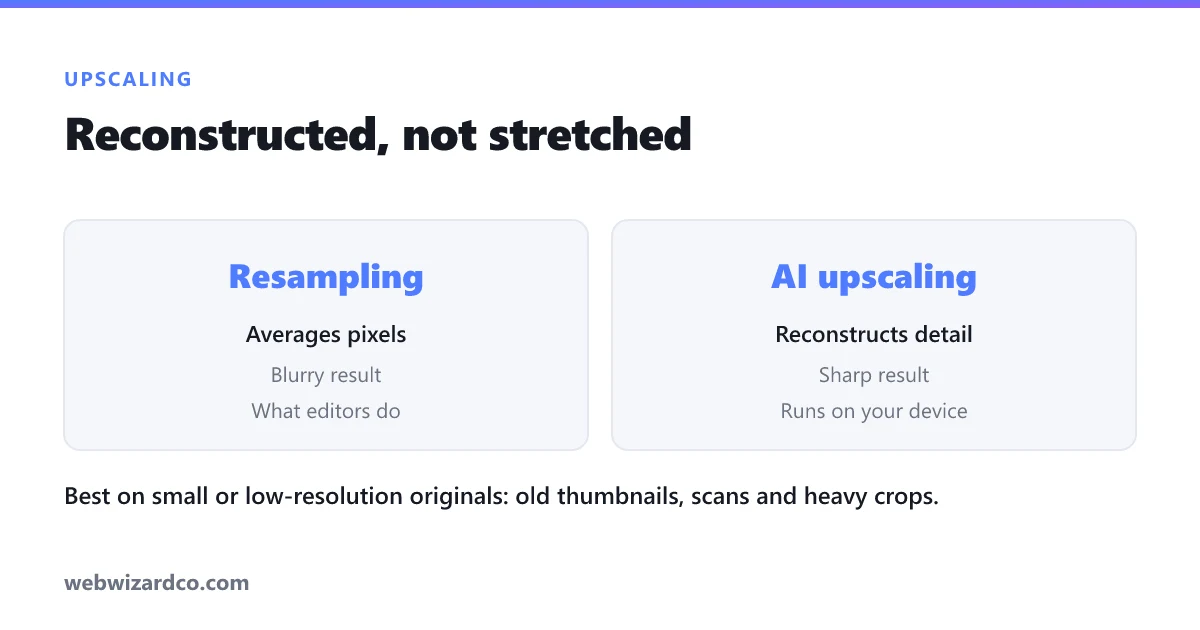
Traditional resizing (bicubic interpolation) invents them by averaging neighbours. Average a sharp edge with its surroundings and you get a soft gradient — which is exactly why enlarged photos look blurry. The algorithm isn't adding detail; it's smearing what's there over a bigger area.
What AI upscaling does differently
An AI upscaler is a neural network trained on millions of pairs of images — the same photo at low and high resolution. From that it learns what real-world detail looks like: how hair strands, brick texture, fabric weave and text edges behave at high resolution.
So instead of averaging, it predicts plausible detail. Shown a blurry eyelash, it reconstructs a sharp eyelash, because it has learned what eyelashes look like up close. The result is a genuinely sharp image rather than a smooth one.
Two honest caveats:
- It's reconstruction, not recovery. The AI invents plausible detail; it can't know what was actually there. For artistic and commercial use that's perfect — for forensic or legal evidence, it isn't truth.
- Garbage in, garbage out. Upscaling amplifies existing problems. A heavily compressed or motion-blurred source will produce a sharp version of those flaws.
How to upscale an image
- Open the AI image upscaler and drop in your photo.
- Choose 2× (faster, usually enough) or 4× (sharper, slower, more memory).
- Wait while the model runs — on the first use it downloads once, then it's cached.
- Download the result.
It runs entirely on your device, so nothing is uploaded. That also means speed depends on your computer and image size — start with 2× on a large photo.
When upscaling actually helps
- Old photos — scans and early digital camera shots respond very well.
- Product images — marketplaces require minimum dimensions (Amazon wants 1000px+ for zoom); upscaling rescues an otherwise good small photo.
- Printing — screens need 72 DPI, print needs ~300. A web-sized image is often too small to print until upscaled.
- Cropped shots — when you crop tightly you throw away pixels; upscaling brings the usable size back.
- Logos and graphics — although if a true vector (SVG) original exists, always use that instead.
Getting the best result
- Start with the best original you have — not a screenshot of it, not a WhatsApp copy (messaging apps recompress heavily).
- Upscale before other edits, then crop and compress afterwards.
- Don't over-scale. 4× on a very small image invents more than it reconstructs and can look artificial. Two passes of 2× are sometimes kinder than one 4×.
- Compress afterwards — an upscaled image is much larger; run it through the compressor before putting it on a website.