Passport photo requirements are strict, differ by country, and a rejected photo means a delayed application. Here are the official sizes and the rules that actually cause rejections.
Official sizes by country
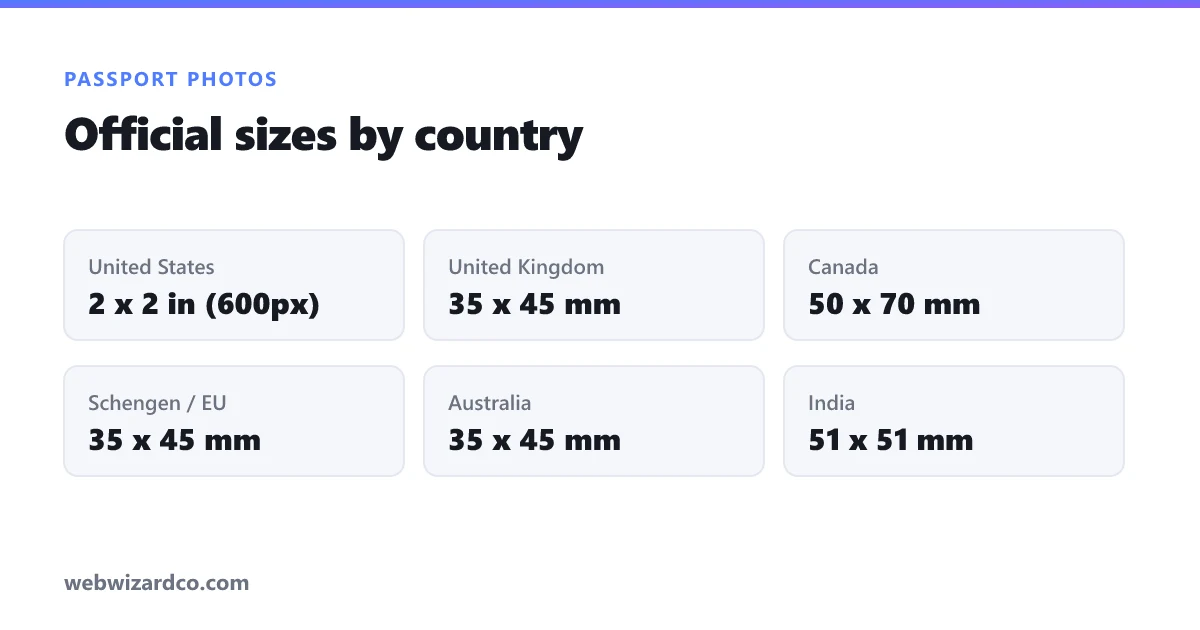
- United States — 2 × 2 inches (51 × 51 mm), which is 600 × 600 pixels at 300 DPI. Head height 1 to 1 3/8 inches. Same size for US visas and green cards. US passport photo tool →
- United Kingdom — 35 × 45 mm (about 413 × 531 pixels at 300 DPI). Head height 29–34 mm. Resize to UK size →
- Canada — 50 × 70 mm (about 591 × 827 pixels). Head height 31–36 mm from chin to crown. Canada passport photo tool →
- Schengen / most of Europe — 35 × 45 mm, the same as the UK.
- India — 51 × 51 mm (2 × 2 in) for passports; many Indian visa forms also use 35 × 45 mm, so check the specific form.
- Australia — 35 × 45 mm, head height 32–36 mm.
Note the pattern: the US uses a square photo; most of the rest of the world uses a 35 × 45 mm rectangle. Getting these mixed up is the single most common sizing error.
The rules that actually get photos rejected
Size is easy to fix with a tool. These are the ones that cause real rejections:
- Background. Plain and light — white or off-white (US), cream or light grey (UK). No patterns, furniture, shadows on the wall or door frames.
- Shadows. The most common failure. Use soft, even, front-on light. Stand about half a metre from the wall so your own shadow doesn't fall on it.
- Expression. Neutral, mouth closed, both eyes open and clearly visible. No smiling in most countries.
- Glasses. The US and UK now generally require you to remove glasses. Don't risk it.
- Head position. Face square to the camera, not tilted or turned. Head must fill the specified proportion of the frame.
- Recency. Taken within the last 6 months, reflecting your current appearance.
- No filters. No beauty modes, no retouching, no digital alterations. Phone "portrait mode" can blur the background — turn it off.
- Head coverings. Only for religious or medical reasons, and your full face must still be visible from chin to forehead.
How to take one at home
- Find a plain light wall and stand about half a metre in front of it.
- Face a window for soft, even daylight. Avoid overhead lights (they cast shadows under the eyes) and direct sun.
- Have someone else take it from about 1.5 metres away, camera at eye level. Selfies distort facial proportions and are frequently rejected.
- Shoot in normal photo mode — no portrait/bokeh, no filters, no zoom-in-close.
- Crop to the official size with a tool that sets the exact dimensions, then print or upload.
Our passport tools open the resizer pre-set to the correct dimensions for your country, so you only need to position the crop. Everything runs in your browser — a passport photo is sensitive personal ID, and ours is never uploaded anywhere.
Printing at home
If you're printing rather than uploading, print at 300 DPI on photo paper and measure the result with a ruler before submitting — printer scaling settings ("fit to page") are notorious for silently shrinking photos by a few millimetres, which is enough to fail.
Requirements change. Always check the official government page for your country before submitting — this guide is a starting point, not legal advice.