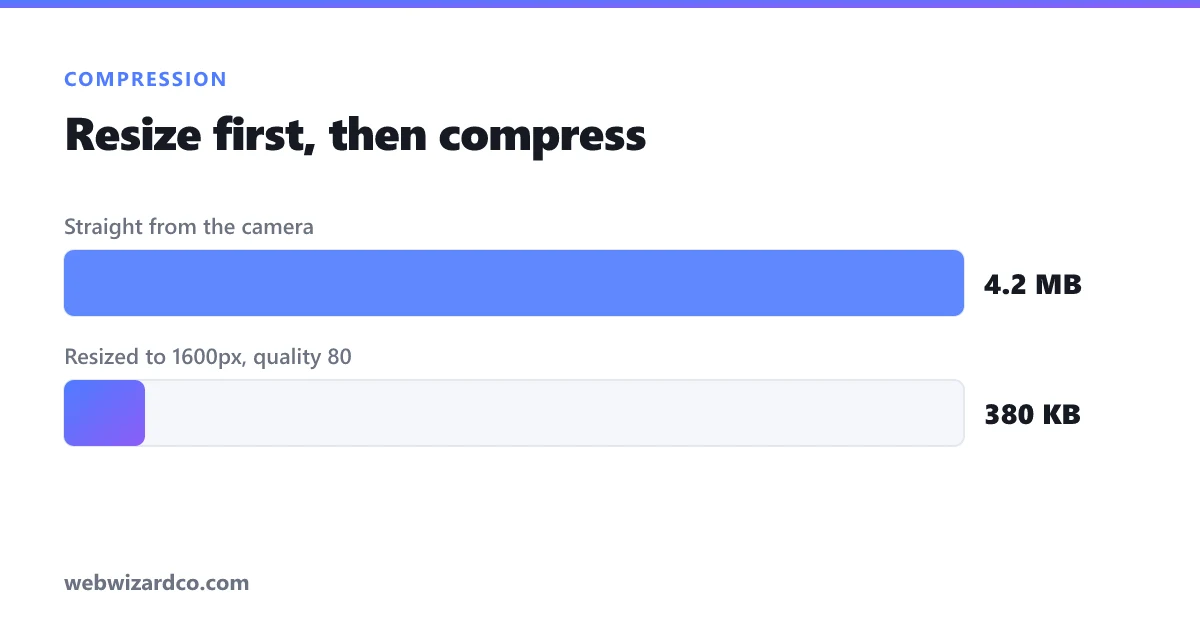
Large images are the number one cause of slow web pages, failed uploads and bloated email attachments. The good news: most photos can be made 60–80% smaller with no visible difference at all. Here is how to do it properly.
Why images are bigger than they need to be
A photo straight from a phone or camera is optimised for editing, not for sharing. It typically carries far more pixels than any screen will show, plus metadata (camera model, GPS, timestamps) and minimal compression. A 12-megapixel photo can be 5 MB — yet displayed at 1080px wide on a website, it only needs a fraction of that.
So there are really two levers, and most people only use one:
- Compression — throwing away detail your eye can't detect.
- Resizing — reducing the pixel dimensions to what's actually needed.
Resizing often saves more than compression, and costs nothing visually if the image was oversized to begin with.
What "quality 80" actually means
When you compress a JPG or WebP, you choose a quality value from 1–100. This is not a percentage of how good the image looks — it controls how aggressively the encoder discards fine detail. In practice:
- 90–100 — visually identical to the original. Large files. Use for print or archiving.
- 75–85 — the sweet spot. Usually indistinguishable from the original on screen, with a huge size reduction. Start here.
- 50–70 — noticeable softening in fine detail and smooth gradients (skies, skin). Fine for thumbnails.
- Below 50 — visible blocky artifacts. Avoid unless you must hit a tiny target.
Because compression is lossy, always compress from the original. Re-compressing an already-compressed file stacks the damage — the artifacts of the first pass get treated as real detail by the second.
Pick the right format
- JPG — best for photographs. Universal support. No transparency.
- WebP — typically 25–35% smaller than JPG at the same visual quality, and supports transparency. Excellent for the web; supported by every modern browser.
- PNG — lossless, so it stays large for photos. Correct choice for logos, screenshots, line art and anything needing transparency.
Rule of thumb: photo for the web → WebP (or JPG for maximum compatibility). Graphic with sharp edges or transparency → PNG.
How to hit a specific size (like under 100KB)
Forms and job portals often cap uploads. Work in this order:
- Reduce the dimensions first. If you need a 500px-wide photo, resizing there does most of the work with zero quality cost.
- Then lower the quality in steps of five, watching the live size readout, until you're under the cap.
- Try WebP if the target allows it — it will often get under the limit at a higher quality setting than JPG can.
Our image compressor shows the output size live as you move the slider, so you can stop the moment you're under your target instead of guessing.
A few things that quietly matter
- Compress last. Do all your editing, cropping and resizing first, then compress once at the end.
- Keep the original. You can always compress again from it; you can never recover lost detail.
- Check on the target screen. Compression artifacts that vanish on a phone can be obvious on a large monitor.
- Privacy. Many online compressors upload your photos to their servers. Ours runs entirely in your browser — the image never leaves your device.
The short version
Resize to the dimensions you actually need, export as WebP or JPG at quality 80, and check the result. That single routine will shrink most images dramatically with no visible loss.