Modern phone cameras produce enormous files. A photo from a recent iPhone or Android flagship is routinely 4000 × 3000 pixels and 5–12 MB. Meanwhile the form you are filling in wants "a photo under 500 KB", and it will not budge.
There are two completely different ways to make an image smaller, and knowing which one you need is most of the battle.
Resizing vs compressing
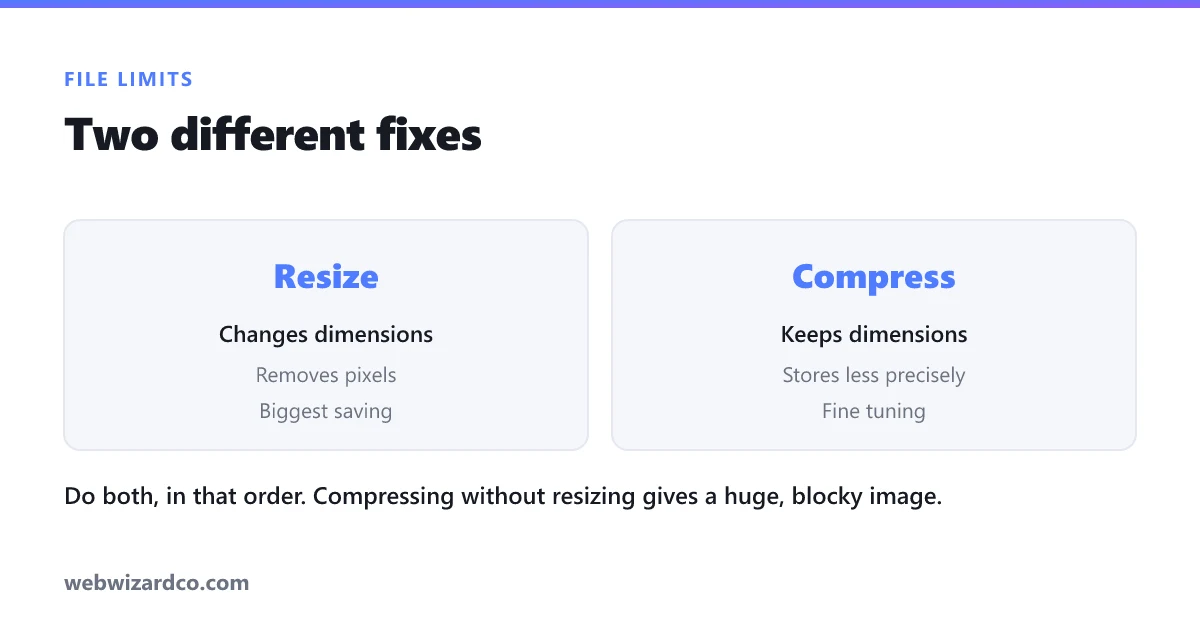
Resizing changes the pixel dimensions. A 4000 × 3000 photo becomes 1200 × 900. You are literally removing pixels, and the file shrinks dramatically because there is less image to store.
Compressing keeps the dimensions and stores the same pixels less precisely. A 4000 × 3000 photo stays 4000 × 3000 but the JPG encoder is allowed to approximate more. The file shrinks; the picture gets subtly softer.
The mistake almost everyone makes is compressing a huge image hard instead of resizing it. You end up with a 4000px photo full of blocky compression artefacts — when nobody needed 4000px in the first place.
Resize first, then compress. In that order you keep a clean-looking image at a fraction of the size.
What size do you actually need?
Almost nothing needs the full resolution your camera produces:
- An upload form or web page — 1200–1600px on the longest side is plenty.
- Email to a person — 2000px is generous.
- A profile picture — 800 × 800 is more than enough.
- A passport or visa photo — the official size, typically 600 × 600. See the passport photo size guide.
- Printing — this is the one case where you keep the pixels. Multiply the print size in inches by 300. A 6 × 4 inch print needs 1800 × 1200.
Resizing a 12 MB photo to 1600px on the long side typically lands it around 400–700 KB before you compress anything at all.
Hitting an exact limit
When a form demands "under 2 MB" or "maximum 500 KB", guessing is miserable — export, check the size in your file manager, still too big, export again. The way out is a tool that shows the resulting file size as you adjust the quality, so you can stop the moment you are under the limit instead of iterating blind.
That is how our image compressor works: the output size updates live as you move the quality slider, so you can stop the moment you are under the limit.
A practical order of operations:
- Resize to the dimensions you actually need.
- Compress at 80% quality and check the size.
- Still too big? Drop to 70%, then 60%. Below about 50% the artefacts become obvious.
- Still too big at 60%? Go back and resize smaller. Losing dimensions looks far better than crushing quality.
The format matters too
Sometimes the fastest win is changing format rather than quality:
- Is it a PNG of a photograph? That is the single most common cause of an absurdly large file. PNG is lossless and terrible at photographs — a photo saved as PNG can be five times larger than the same photo as JPG with no visible benefit. Convert it to JPG.
- Can you use WebP? It is typically 25–35% smaller than JPG at the same visual quality. Every modern browser supports it, though some older desktop applications and upload forms still do not. See PNG vs JPG vs WebP.
- Is it a HEIC from an iPhone? Many upload forms reject HEIC outright. Convert to JPG and the problem usually disappears.
- Does it need transparency? If yes, you are stuck with PNG or WebP. JPG cannot store transparency, which is why a cut-out saved as JPG comes back with a white box behind it.
Things that do not work
Changing the DPI number. Typing 72 or 300 into a DPI box does not change the file size at all. DPI is an instruction for a printer about how large to print the pixels — it is metadata, not data. Only the pixel dimensions matter on screen. This trips up a lot of people, and it is worth reading what DPI actually means.
Renaming the extension. Changing photo.png to photo.jpg in your file manager does not convert anything. The file is still a PNG with a misleading name, and many systems will now reject it as corrupt.
Zipping it. JPG and PNG are already compressed. Zipping usually saves a percent or two, and the recipient still has to unzip it.
When you have a whole folder of them
Doing this one photo at a time gets old immediately. Both the compressor and the resizer have a bulk mode that processes a whole batch with the same settings and gives you a single ZIP back.
The short version
Resize to the dimensions you genuinely need. Compress to around 80%. Convert photo PNGs to JPG. Ignore DPI entirely. That handles the overwhelming majority of "file too large" errors in well under a minute.