A transparent PNG is the building block of almost all graphic design work — logos, product shots, stickers, thumbnails. Here's how to make one, and how to fix the problems that usually come with it.
What "transparent" actually means
Normal images are a solid rectangle of pixels. A PNG can carry an extra channel — the alpha channel — that records how opaque each pixel is, from fully solid to fully invisible. Where alpha is zero, whatever sits behind the image shows through.
Crucially, alpha isn't just on or off. Pixels can be partially transparent, which is what makes soft edges — hair, fur, motion blur, glass — look natural rather than cut out with scissors.
Making one from a photo
- Open the background remover and drop in your image.
- An AI model identifies the subject and erases everything else, giving you an alpha channel where the background was.
- Download the PNG. The checkerboard pattern you see in the preview isn't part of the image — it's the standard way of displaying transparency.
It runs on your device, so the photo is never uploaded. First use downloads the model once, then it's cached.
Four problems and how to fix them
1. "My transparent PNG has a white background!"
Almost always one of these:
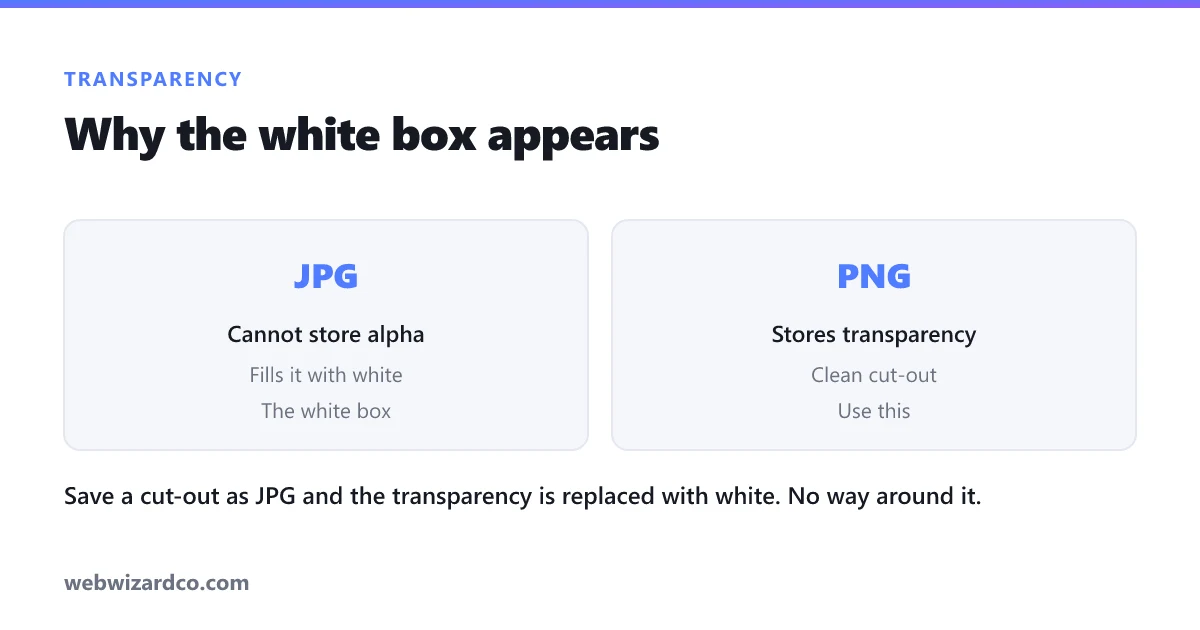
- You saved it as JPG. JPG has no alpha channel at all, so transparency is flattened to white. Always export cut-outs as PNG (or WebP).
- The app you opened it in shows white. Many photo viewers render transparency as white or black. Test it on a coloured background instead.
- You pasted it into something that flattens. Word, some email clients and older tools composite onto white on paste.
2. Jagged or halo-ed edges
A faint outline of the old background around your subject usually means the source resolution was too low, or the original background was a similar colour to the subject. Start from the highest-resolution copy you have, and prefer photos where the subject contrasts with the background.
3. Hair looks chopped
Fine strands need lots of pixels to resolve. Use a large original, and avoid images where hair blends into a busy background. We wrote a whole guide on this: removing backgrounds from hair.
4. The file is huge
PNG is lossless, so cut-outs of large photos can be several megabytes. If it's for the web, either resize it to the display size first, or export as WebP, which keeps transparency at a much smaller size.
Where transparent PNGs are worth the effort
- E-commerce — Amazon, Shopify and eBay all favour clean product shots on pure white; a cut-out lets you place the product on any background consistently.
- Logos — a logo with a baked-in white box looks broken on any coloured header. Keep the master as a transparent PNG.
- Thumbnails and banners — cut out the subject, place it over a bold background, add text behind and in front for depth.
- Stickers and profile pictures — transparency is what makes a sticker read as a sticker.
One last tip
Keep the transparent PNG as your master file. You can always flatten it onto a white background later, but you can't recover transparency once it's been flattened away.